Dig Collect Obstacles and Traps Guide
Recognize Dig Collect hazards early, dig safer corridors, and protect every ball near the finish.
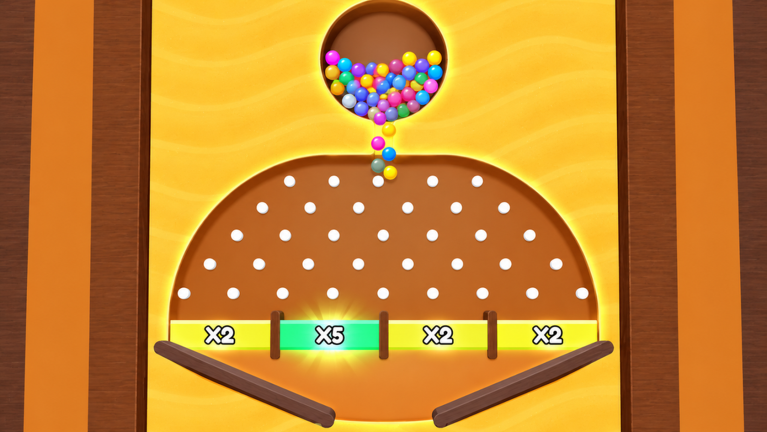
Obstacles decide whether a Dig Collect route feels clever or cruel. Dig & Collect by Collect Ball Game is a single-player Roblox sand-path puzzle: you dig tunnels, guide colorful balls to the finish, and survive traps that punish wide, fast, or late digs. This guide focuses on hazard recognition, width control, working backward from guarded goals, and linking those habits to harder stages. Pair it with Path Digging for shapes, Save All Balls for release order, and Hard Levels when patterns stack.
Why traps feel worse than they look
Most Dig Collect deaths are not random. A ball usually dies because a wall was too thin, a corridor was too wide, a drop was too steep beside a spike, or the finish entry was dug last under panic. Hazards sit still; your sand choices move. Treating every trap as a geometry problem—not bad luck—cuts fail streaks fast in a single-player session where you can reset freely.
Before the first dig stroke, name what can kill a ball within one ball-width of every downhill line. If you cannot name the risks, you are not ready to carve.
Hazard recognition checklist
Scan the stage in this order:
- Finish neighborhood — spikes, rotating dangers, narrow pipes, or blocking props hugging the goal.
- Spawn drops — thin sand plugs over pits directly under balls.
- Mid-route choke points — single safe lanes between two hazard walls.
- Bounce rooms — empty-looking sand volumes that become ricochet caverns if over-dug.
- False shelves — horizontal layers that stop balls above a trap so a later dig dumps them sideways.
Say the pattern out loud: “trap-guarded finish,” “spawn-over-hazard,” or “spike corridor.” Matching a name makes the fix obvious. For ranked pattern difficulty, see Level Difficulty Tiers.
Spikes and traps near the finish
Late deaths hurt because the route already “worked” until the last meter. When hazards guard the goal:
- Dig the exit corridor first while no balls are moving.
- Keep the entry slightly wider than the ball, not stadium-wide.
- Add a short brake flat or shallow slope before the final drop so balls do not fly wide into side spikes.
- Leave extra wall thickness on the hazard side; shave later only if the ball grinds.
- Connect spawns only after the exit looks boringly safe.
If a ball dies at the lip, blame steepness or width—not timing luck. Soften the last grade, narrow the channel, and retry. This is the same work-backward habit taught across Hard Levels, applied specifically to obstacle margins.
Width control as trap defense
Width is the most common silent killer. Too narrow and balls grind to a stop on unintended micro-flats. Too wide and balls bounce left or right into spikes that never moved. Aim for a channel that guides the centerline of the ball past the danger with a visible sand buffer on the lethal side.
Practical width rules:
- Near spikes, dig less on the first pass; expand only after a live ball proves the gap is too tight.
- Prefer soft curves that keep momentum aligned with the finish over cavern bypasses that look safer and then ricochet.
- Never “test dig” into a spike pit while balls are live above it—curiosity removes the plug that was saving you.
- Shared highways for multiple balls need consistent width so merges do not create a flat collision shelf beside a trap.
Deep slope-versus-flat theory lives in Path Digging; here the point is that traps punish undisciplined width first.
Working backward from the goal
Work-backward digging means solving the death zone before you open motion. Use it whenever the finish is cramped or trap-lined. Steps:
- Carve a clean, slow-enough exit corridor.
- Verify wall thickness beside every nearby hazard.
- Trace upward to the nearest ball or holding shelf.
- Park non-priority balls on flats so they cannot crash the exit early.
- Send the priority ball, then open shelves in order.
Work-forward still matters when spawns sit over pits—tame the first fall sideways onto safe ground before you obsess over a perfect exit. Many obstacle-heavy stages need a hybrid: spawn control first, then a pre-built finish. Decide which risk kills more often on that map, and start there.
Mid-map obstacles and blockers
Solid props and blocking planks force detours. Dig the entire detour—including its merge back to the main line—before releasing balls. Half-finished detours create dead ends that strand perfect-clear attempts. If a prop creates a natural shelf, decide whether it is a holding pad or a pass-through; do not leave that decision until a ball is already stuck above a trap.
Rotating or moving dangers need patience more than wider holes. Wait for a safe window if the experience telegraphs motion, or route around the danger’s reach with a thick wall instead of hoping a fast ball threads a moving gap. Dig Collect rewards planned geometry over heroic timing in most layouts.
Multi-ball routes through hazard zones
When several balls must share a spike corridor:
- Send the riskiest ball first while walls are still thick.
- Hold spectators on flats away from the choke.
- Stagger merges so two balls never fight for the same trap-side lane.
- Reset immediately if any ball dies during an all-ball attempt—continuing trains partial habits.
Full order rules are in Save All Balls. Obstacles simply raise the cost of ignoring those rules.
Debugging trap deaths in one variable
After a fail, ask only:
- Was the wall too thin?
- Was the corridor too wide or too steep?
- Did an unintended flat stop a ball above a pit?
- Did two balls collide and shove one into a hazard?
Change one of those on the next reset. Redrawing the whole map hides the lesson. Dig Collect’s single-player design (maxPlayers=1) exists so scientific retries are free—use them.
Practice plan for obstacle mastery
- Pick an unlocked stage with an obvious finish trap. Clear it once for scouting only.
- Replay exit-first until three balls in a row survive the lip.
- Add a second ball with a holding shelf and demand the same streak.
- Move to a spike-corridor layout and refuse cavern digs for ten attempts.
- Rank the pattern on Level Difficulty Tiers and note which width rule saved you.
Warm up dig precision on Controls if your strokes wobble under pressure. Return to Getting Started if you still fight the basic slope-to-move and flat-to-stop loop.
How this page links the wiki
Obstacles are the stress test for every other Dig Collect skill. Path Digging supplies channel shapes; Save All Balls supplies order; Hard Levels stacks patterns; the Tier List and Level Difficulty pages rank which layouts punish mistakes hardest. Check Codes between grind sessions—never invent rewards, and never dig wider because you are tilted.
Master hazard reads and you stop fearing spikes. You will see a trap, dig a boring safe corridor, park the extras, and watch every colorful ball commit through a finish you already solved.
Frequently Asked Questions
Quick answers for Dig Collect players.
What should I dig first when traps guard the Dig Collect finish?
Dig a clean, slightly slow exit corridor first while no balls are moving, then connect spawns. Fix width or steepness if balls die at the lip.
How wide should paths be near spikes?
Slightly wider than the ball with extra wall thickness on the hazard side. Expand only after a live ball proves the gap is too tight.
Why do balls bounce into traps mid-route?
Corridors are usually too wide or drops too steep. Prefer channel-shaped soft curves over cavern digs that create side bounce.
Should I always work backward from the goal?
Use work-backward for trap-guarded finishes. Use work-forward when spawns sit over hazards. Many stages need a hybrid of both.
Which guides pair with this obstacles page?
Path Digging for shapes, Save All Balls for order, Hard Levels for stacked patterns, and Level Difficulty Tiers for ranked archetypes.