Dig Collect Level Difficulty Tiers
Pattern ranks and dig tactics for Dig Collect’s toughest layouts.
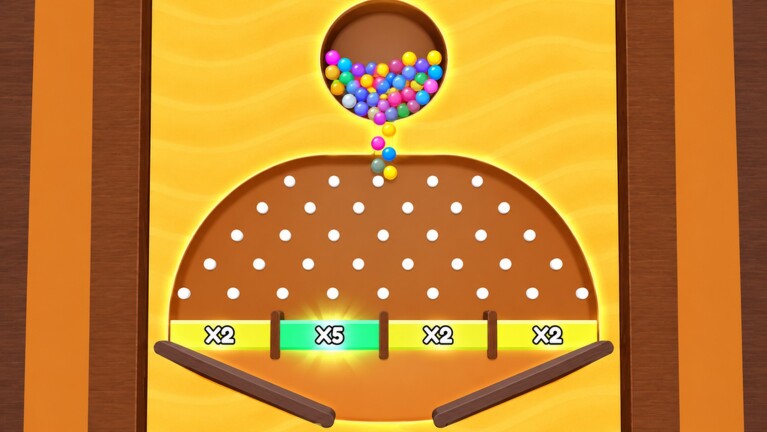
This page ranks Dig Collect difficulty by pattern, using an S/A/B/C scale. Dig & Collect by Collect Ball Game is a single-player Roblox sand puzzle: dig paths, guide colorful balls, and survive obstacles. Named level lists go stale when packs reorder, so we tier archetypes—multi-ball splits, spike corridors, narrow slopes, timed traps, and mixes—then give practical dig advice you can reuse. Return to the Tier List Hub for the strategy overview, or jump to hard levels and path digging for full technique write-ups.
How to use these tiers
- S — Highest consistent fail rate; demand parking ledges, partial digs, and calm resets
- A — Tough but solvable once you learn one key control idea
- B — Moderate; punish greed more than confusion
- C — Teaching layouts; warm-up material for dig width and camera
Tag each live stage with the closest pattern after a thirty-second survey. Your practice order should climb C → B → A → S, not random pack order.
S-tier — Multi-ball splits under hazard pressure
What it looks like: Two or more balls share a dig zone, but their natural fall lines diverge toward different hazards. Opening one “helpful” tunnel can doom the sibling ball.
Why it is S: You must solve containment before release. Players who dig a victory highway for ball A often create a spike funnel for ball B.
Practical advice:
- Park the higher-risk ball on a shallow shelf first
- Dig independent micro-channels; avoid a single mega-cavity early
- Release the safer ball first only if its path cannot backflow into the parked sibling
- If both start moving before shelves exist, reset—do not widen in panic
Drill this archetype with save all balls habits and the containment layer from Tools.
S-tier — Timed traps on narrow exits
What it looks like: A fair tunnel still fails because a moving spike, gate, or collapsing shelf occupies the exit on a rhythm.
Why it is S: Geometry skill is not enough; you need timing windows plus dig precision.
Practical advice:
- Watch one full trap cycle before digging the final plug
- Create a holding pocket so the ball waits for the safe beat
- Shorten the last roll distance so timing error margins grow
- Prefer late release over early gambling
If you cannot verbalize the safe beat, you are not ready to open the exit.
A-tier — Spike corridors
What it looks like: A thin safe channel runs beside instant-fail spikes. Over-digging by a small width drops the ball into the hazard.
Why it is A: Readable threat, unforgiving width control.
Practical advice:
- Scratch-test dig depth away from the spike line first
- Keep corridor walls thicker than your instincts suggest
- Avoid “cleaning up” sand mid-roll; pre-shape, then release
- Use high camera angles to judge wall thickness
Pair with controls if your dig clicks feel imprecise on mobile or mouse.
A-tier — Narrow slopes with speed runaways
What it looks like: A long descending tunnel accelerates balls into a corner hazard or overshoots the finish shelf.
Why it is A: Slope length turns small angle errors into big misses.
Practical advice:
- Break one long slope into stepped shelves
- Add a catch pocket before the finish if overshoot is common
- Widen only at the bottom catch—not along the entire descent
- Test with a single ball before opening multi-ball feeders
B-tier — False floors and thin shelves
What it looks like: Sand looks supportive until ball mass arrives, then the shelf collapses into a pit.
Why it is B: Once you probe thickness, the puzzle becomes honest.
Practical advice:
- Tap exploratory notches to learn shelf depth
- Reinforce routes with wider footings before parking heavy multi-ball traffic
- Do not store two balls on a shelf you have not stress-tested
B-tier — Collection order puzzles
What it looks like: Balls can all finish, but the wrong arrival order blocks a gate or crowds a choke point.
Why it is B: Planning beats mechanics.
Practical advice:
- Decide order during the survey ritual
- Park early-arriving balls intentionally
- Open paths in reverse order of desired arrival when the layout allows
C-tier — Open bowls and gentle guides
What it looks like: Wide dig freedom, obvious finish, few instant fails.
Why it is C: Designed to teach camera and dig basics.
Practical advice: Still run the Tools checklist. Bad habits learned on C-tiers become S-tier disasters later. Practice intentional narrow channels even when a bowl would “work.”
Mixed exams — how to tier hybrids
Many late stages combine two A patterns (spike corridor + narrow slope) or an S split with a timed exit. Score the hardest mandatory interaction, not the easiest corner of the map. A stage with a trivial first dig and a brutal final split is still S if the split is required for an all-ball clear.
Practice syllabus (one week)
| Day | Focus | Tier target |
|---|---|---|
| 1 | Dig width + camera | C |
| 2 | Thin shelves / false floors | B |
| 3 | Spike corridors | A |
| 4 | Narrow slopes | A |
| 5 | Multi-ball parking | S prep |
| 6 | Timed exits | S |
| 7 | Mixed exam review | Your worst tag |
Track personal notes on the Players Hub goals list. After patches, retest one stage per tier because ball feel shifts—see Updates.
Common ranking mistakes
- Calling a stage S because you were tilted, not because the pattern demands it
- Memorizing one brittle tunnel instead of learning the archetype
- Ignoring order constraints and blaming “RNG balls”
- Using scripts to skip exams—read Scripts and stay skill-based
Quick links
- Tier List Hub — strategy overview
- Hard levels — pressure tactics
- Path digging — sand grammar
- Save all balls — multi-ball survival
- Guides Hub — full tutorial index
Master patterns, not only stage numbers, and Dig Collect’s hardest layouts become a readable language of sand and timing.
Frequently Asked Questions
Quick answers for Dig Collect players.
Are these Dig Collect tiers for named levels?
They rank recurring difficulty patterns—splits, spike corridors, slopes, timed traps—so advice stays useful when level packs reorder.
What is the hardest pattern type?
Multi-ball splits under hazard pressure and timed traps on narrow exits sit at S-tier because they demand containment and rhythm, not just digging faster.
How should I practice S-tier layouts?
Park risky balls first, dig micro-channels, release late, and reset when containment is gone. Pair attempts with the hard-levels and save-all-balls guides.
Where do I go for general strategy rankings?
Start at the Tier List Hub, then return here for detailed S/A/B/C pattern advice.
Do updates change these tiers?
New obstacles or ball physics can raise a pattern’s difficulty. Recheck Updates after patches and retag stages that suddenly feel harsher.